MASK ON: How to make your own face mask
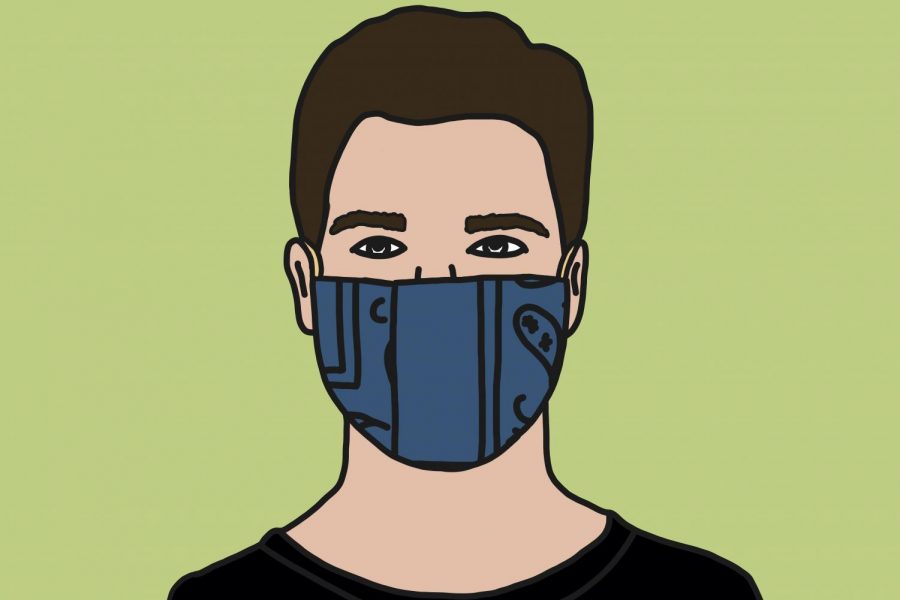
A graphic of a man wearing a homemade mask.
April 12, 2020
In 2017, Future’s hit song “Mask Off” peaked at number five on the Billboard charts. That same year, the Atlanta rapper showed up to the BET Awards rocking a $3,000 mask with brass frames and crystals.
And now, as the number of confirmed coronavirus cases grows and medical supplies dwindle, Future is helping people keep their masks on, providing face masks to hospital workers and patients.
So while Future is out giving hospitals necessary supplies, maybe you’re thinking, “I want to make a mask for myself!” or “I should make some more for my neighbors.”
Well, you’ve come to the right place. While you might not get a crystalized, multi-thousand dollar piece of facial wear, this step-by-step tutorial should help you make a mask that will allow you to do your part to mitigate the spread of coronavirus.
If you do want to step up your mask game, scroll to the bottom for a video tutorial on sewing your own mask.
Now, to paraphrase Future: f–k it, mask on.
Step 1: Gather your supplies
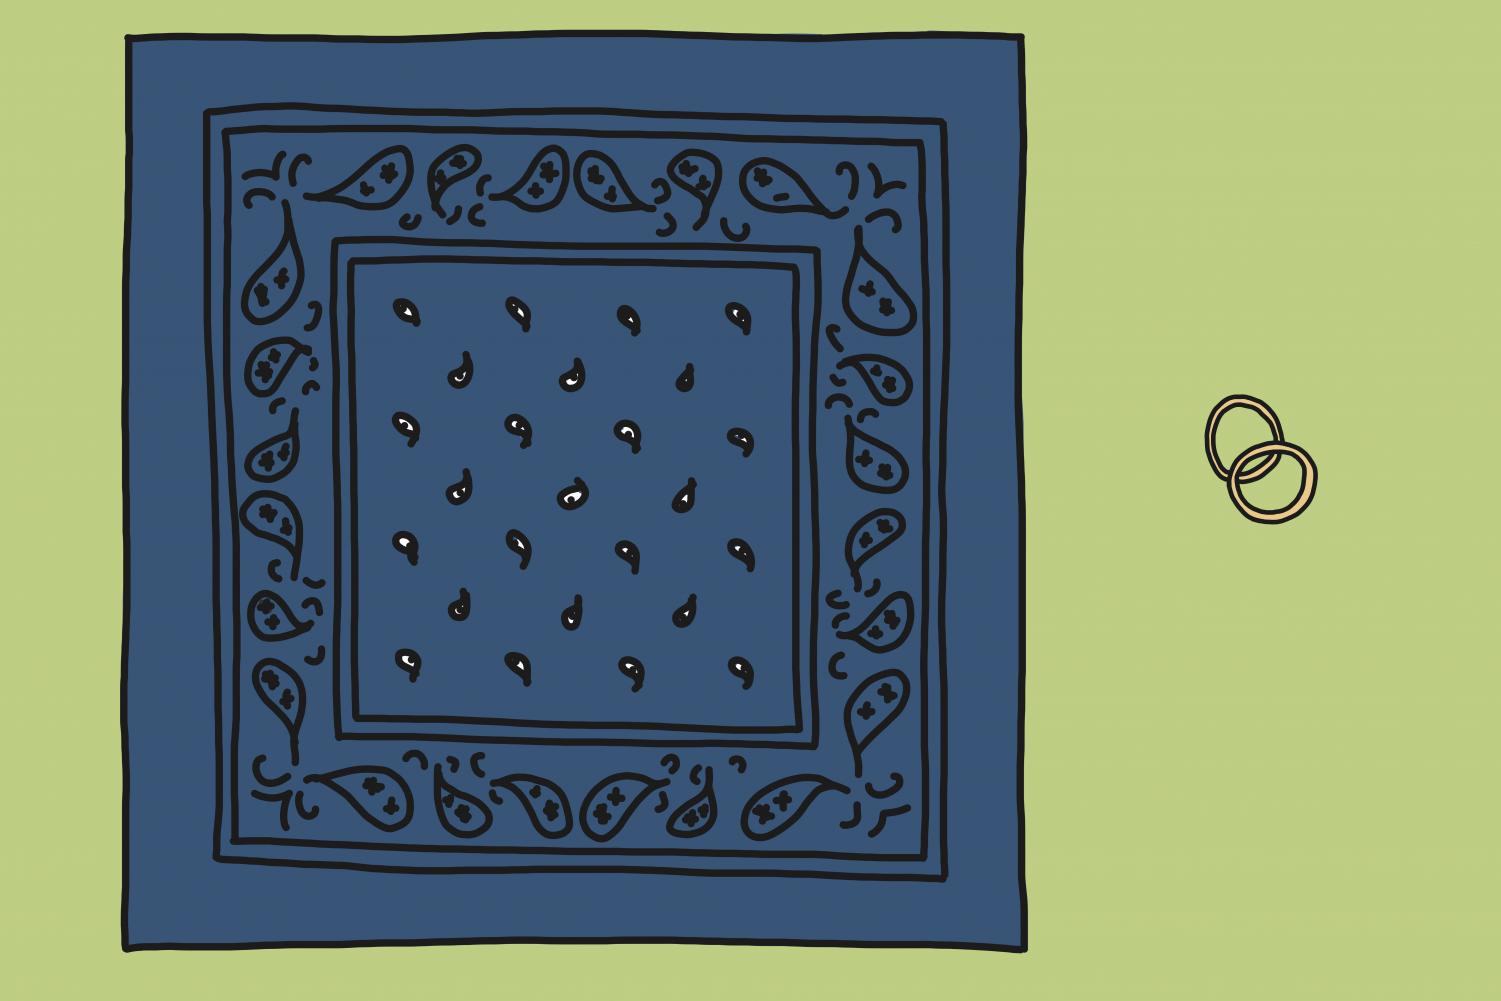
All you’ll need is one bandana and two elastic bands, whether they’re rubber bands or hair ties. That’s it. Lay the bandana out flat and prepare to fold.
Step 2: Fold the bandana
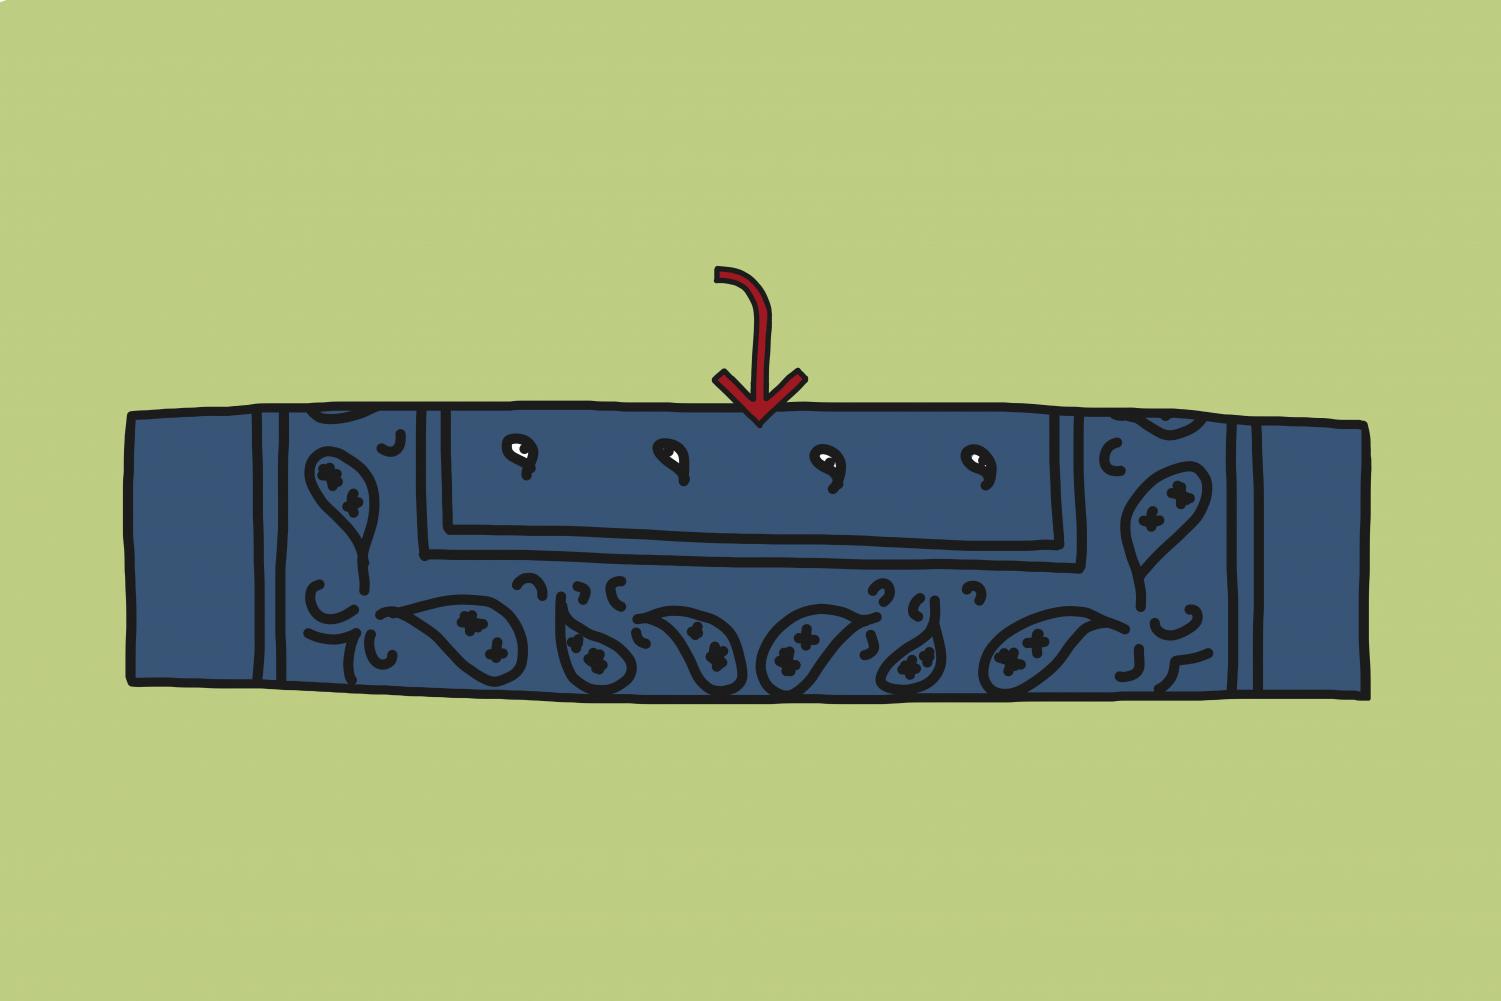
Fold the bandana into increments that are lengthy enough to fit over the nose and mouth. Continue folding until the top has reached the bottom of the cloth.
The Centers for Disease Control and Prevention said on their website the virus can spread between people interacting in close proximity — “for example, speaking, coughing, or sneezing.”
Covering the nose and mouth should help prevent the spread where maintaining other social distancing measures may be difficult, the CDC added, like the grocery store.
Step 3: Loop the rubber bands around each end
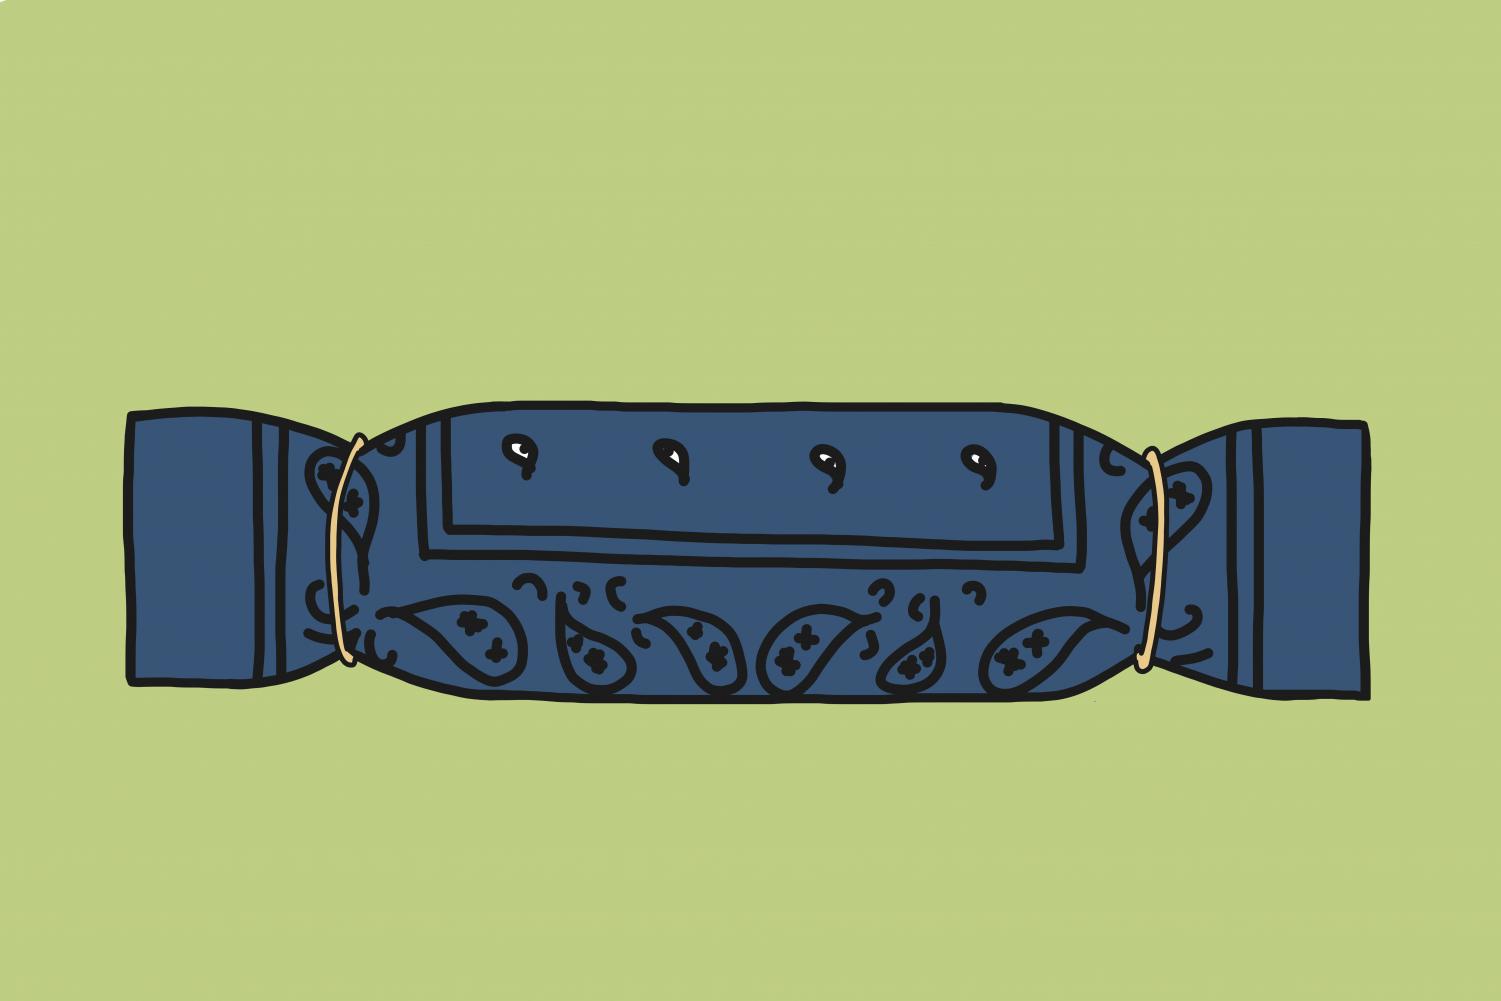
Loop the rubber bands, elastic hair ties or whatever it is you’re using around each end. There should be a space wide enough between the two bands for the cloth to cover the mouth.
Step 4: Fold the sides in and tuck one end into the other
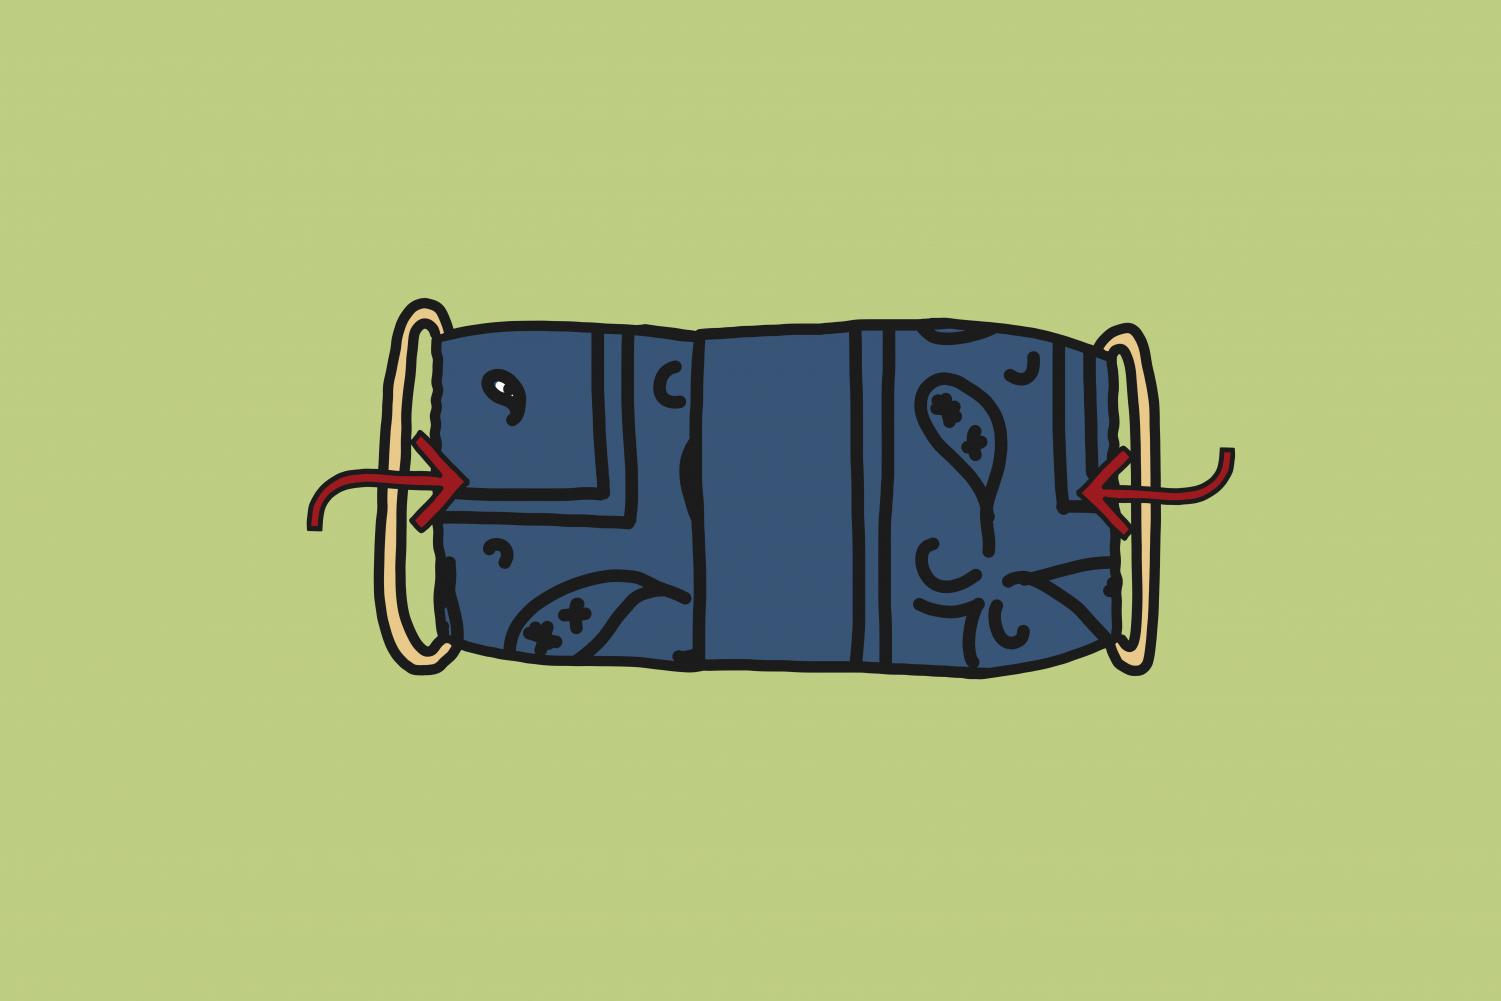
Now, fold each side into the center, so that the rubber bands are on the ends of the cloth.
Step 5: Wear, with the hair ties or rubber bands wrapped around the ears
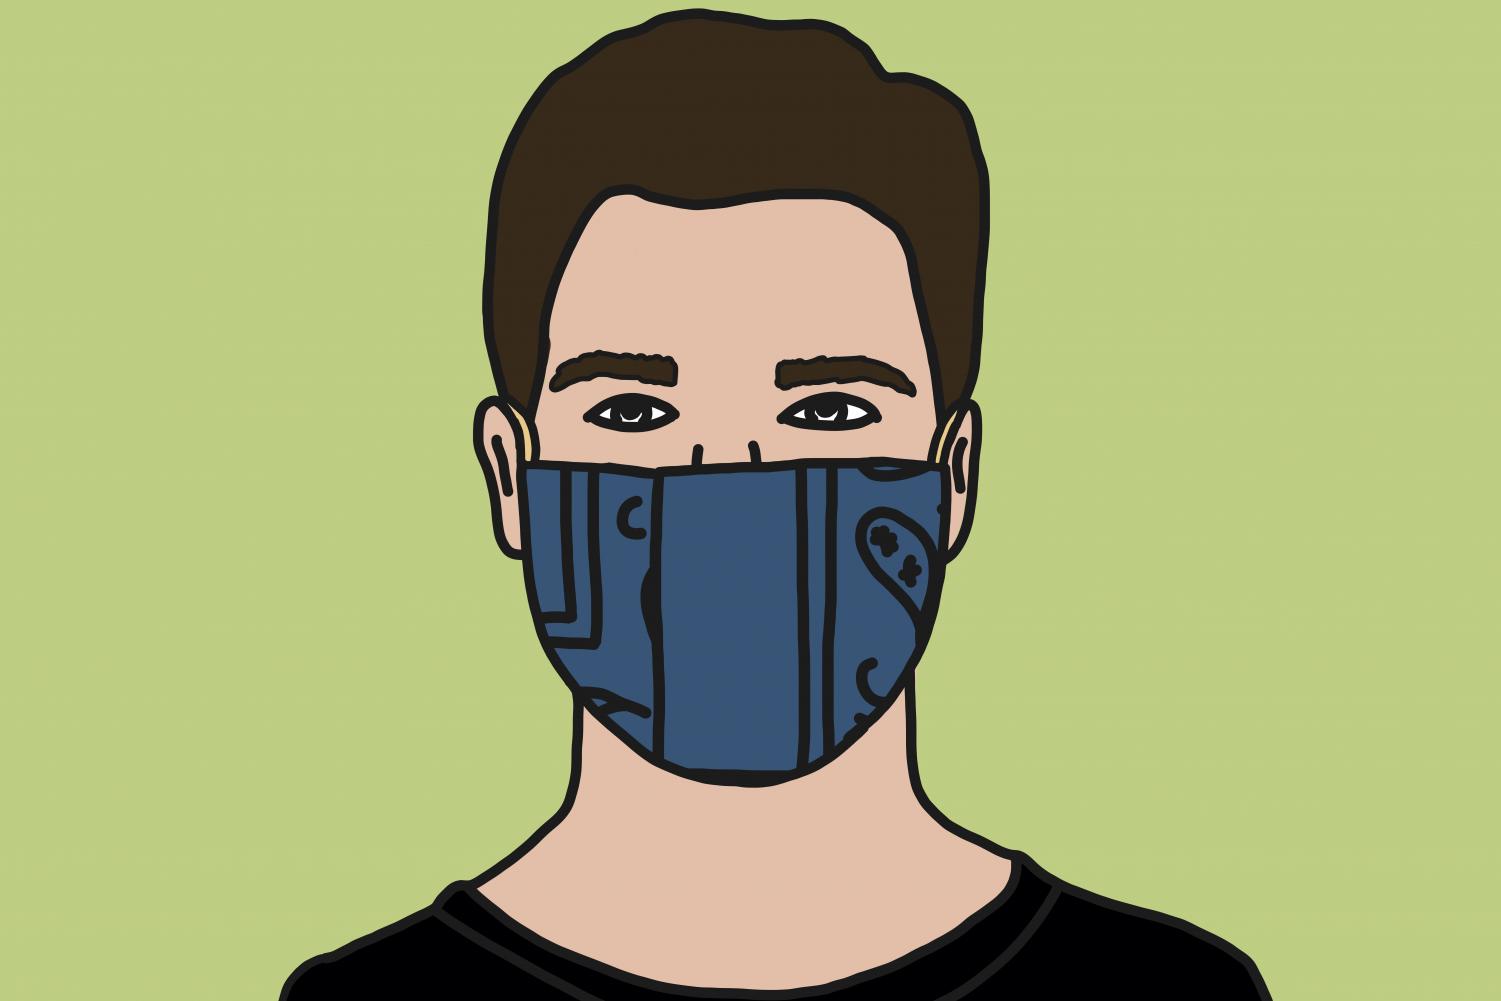
Loop the rubber bands around your ears, holding the mask in place. There you go!
Email: [email protected]
Twitter: @pamesjollard