Makeup Mavericks: Communication freshman Nikita Kulkarni
May 21, 2014
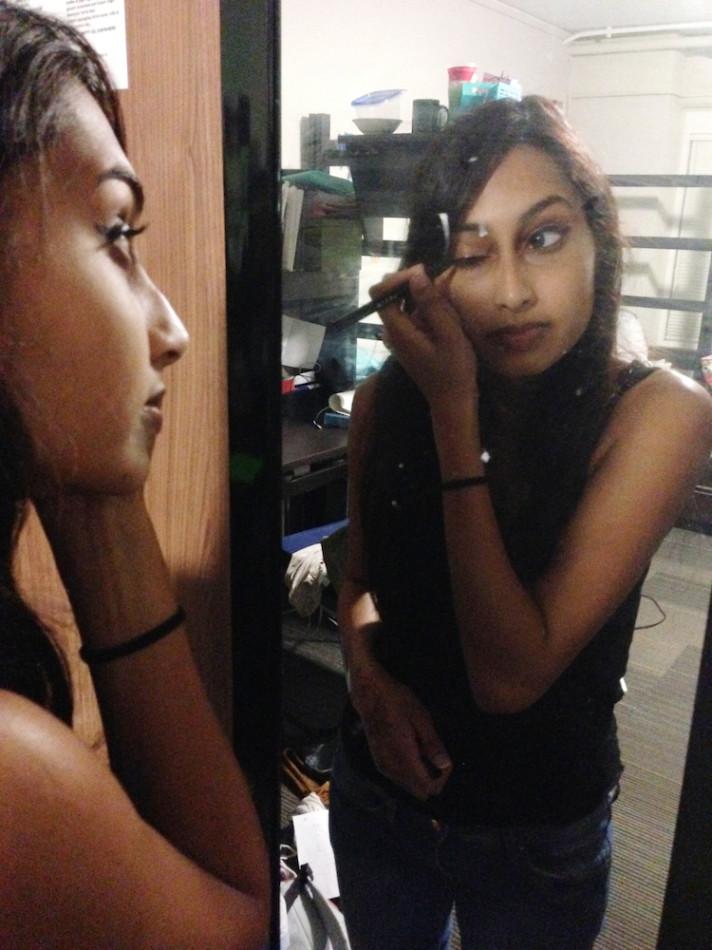
Some days, it seems like you barely have enough time in your schedule to shower before class, let alone put together the perfect look. But amazingly, Northwestern is filled with students who manage to look flawless — even with five midterms a week and a thousand extracurriculars. Each week, I’ll talk to someone on campus and get her makeup tips and tricks. This week, I talked to Communication freshman Nikita Kulkarni, who explains how to perfect winged eyeliner.
An iconic look when it comes to makeup, winged eyeliner or the “cat eye” can be tricky to accomplish on the first try. Between the angle, the length and occasional smearing, a few tips could help make this process a little less challenging.
Why to love it
The winged eyeliner look is popular because of the almond-shaped eye illusion it creates. By applying the extra liner to the corner of your eyes, the technique makes your eyes look bigger and more defined.
Nikita’s bonus benefit: “It makes you look like you know your (stuff), that you’re really good at makeup and that you put in a lot of effort to do your makeup in the morning, even if all you did was take 30 seconds to put your eyeliner on.”
The tools
Picking the right eyeliner is important to create a smooth line. Kulkarni explains that all types of eyeliner work whether it is liquid, gel or powder. However, she prefers the eyeliner pen as her tool of choice: liquid liner in the format of a pen that you can use to draw out your line. She recommends using an eyeliner pen if you are a beginner because it has the same shape as a normal pen and is easier to control.
Nikita’s tip: “I don’t do this, but some people find it helpful to have a mirror in their hand and kind of look down at it. That way you can keep your eye open while doing the wing, as opposed to you trying to hold it closed because sometimes your eyelid trembles a little bit.”
Connect the dots
When Kulkarni applies her liner, she first starts at the top and applies the liner in little dashes. These quick, small motions help keep her line precise instead of risking a mistake by doing a single motion.
She then separately draws out the wing in the corner of her eye. The angle of the wing, as Kulkarni describes, should be from the outer edge of the eye up to the outer edge of the eyebrow. She then checks to make sure the wings are symmetrical.
After drawing the wing and the top line, Kulkarni will then connect the line from the top of her eye to the inner corner of the wing line to finish off this eyeliner technique.
Nikita’s tip: “(The length of the wing) depends on how dramatic you want your look to be. I would say keep it pretty small for the daytime, but if you’re going out, by all means go full-on Amy Winehouse with it.”
Smear guard
A lot of times you create this perfect winged look, and then two hours later you find it’s disappeared or smudged. To counter this, Kulkarni stresses the importance of using waterproof eyeliner to resist this rubbing off. Her go-to product is Stila’s “Stay All Day Waterproof Liquid Eye Liner.”
Nikita’s tip: “Another thing to make it last longer is you could put a primer underneath the liquid (liner) and then go over it with a powder, or you could do a pencil and then go over it with a liquid (liner).”
Add intensity
After drawing winged eyeliner on the top of the eyes, you could just stop there, but Kulkarni also says adding black liner to the waterline intensifies the overall look. However, be careful when adding this bottom liner during the daytime, as it could appear overdramatic.
If you want added color to the bottom without having your makeup look too heavy, Kulkarni recommends applying a peach or brown eyeliner on the waterline.
Know someone with a great makeup look or have your own tips to share? Email me at [email protected].